Week 3 - Character Modelling

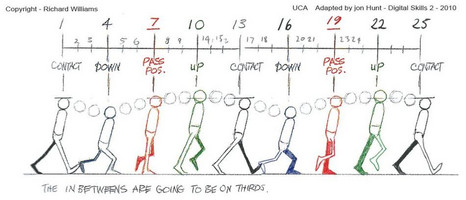
This week's focus was on rigging and animating. To learn about these tools, we had to construct a character, which would give us a simple idea on how we would want each body part to move. We were also encouraged to model a character suitable to our Tourist Attraction from Week 1 & 2, so in my case I decided to model a hiker to fit in with the natural walks of Maria Island where the Silos come from.
Modelling
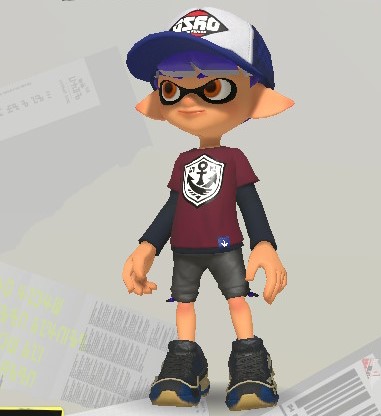
I started off by dressing my Splatoon character as a reference for shape and clothing (Fig.1) and began to build a low-poly character model to reduce the number of faces and vertices, following a guide from Imphenzia. Low-poly designs make things more blocky, but are less tedious to work with. If I wanted to make a more realistic model, I would have to create a lot more vertices and faces which would make the entire process more tedious and time consuming. The final model along with colour is shown in Fig.2. The colours I had extracted from https://lospec.com/palette-list/tag/character. The palette is QUAK60 by Quakmann (I've attached the palette to this devlog [be aware that the image is extremely small and compressed]).
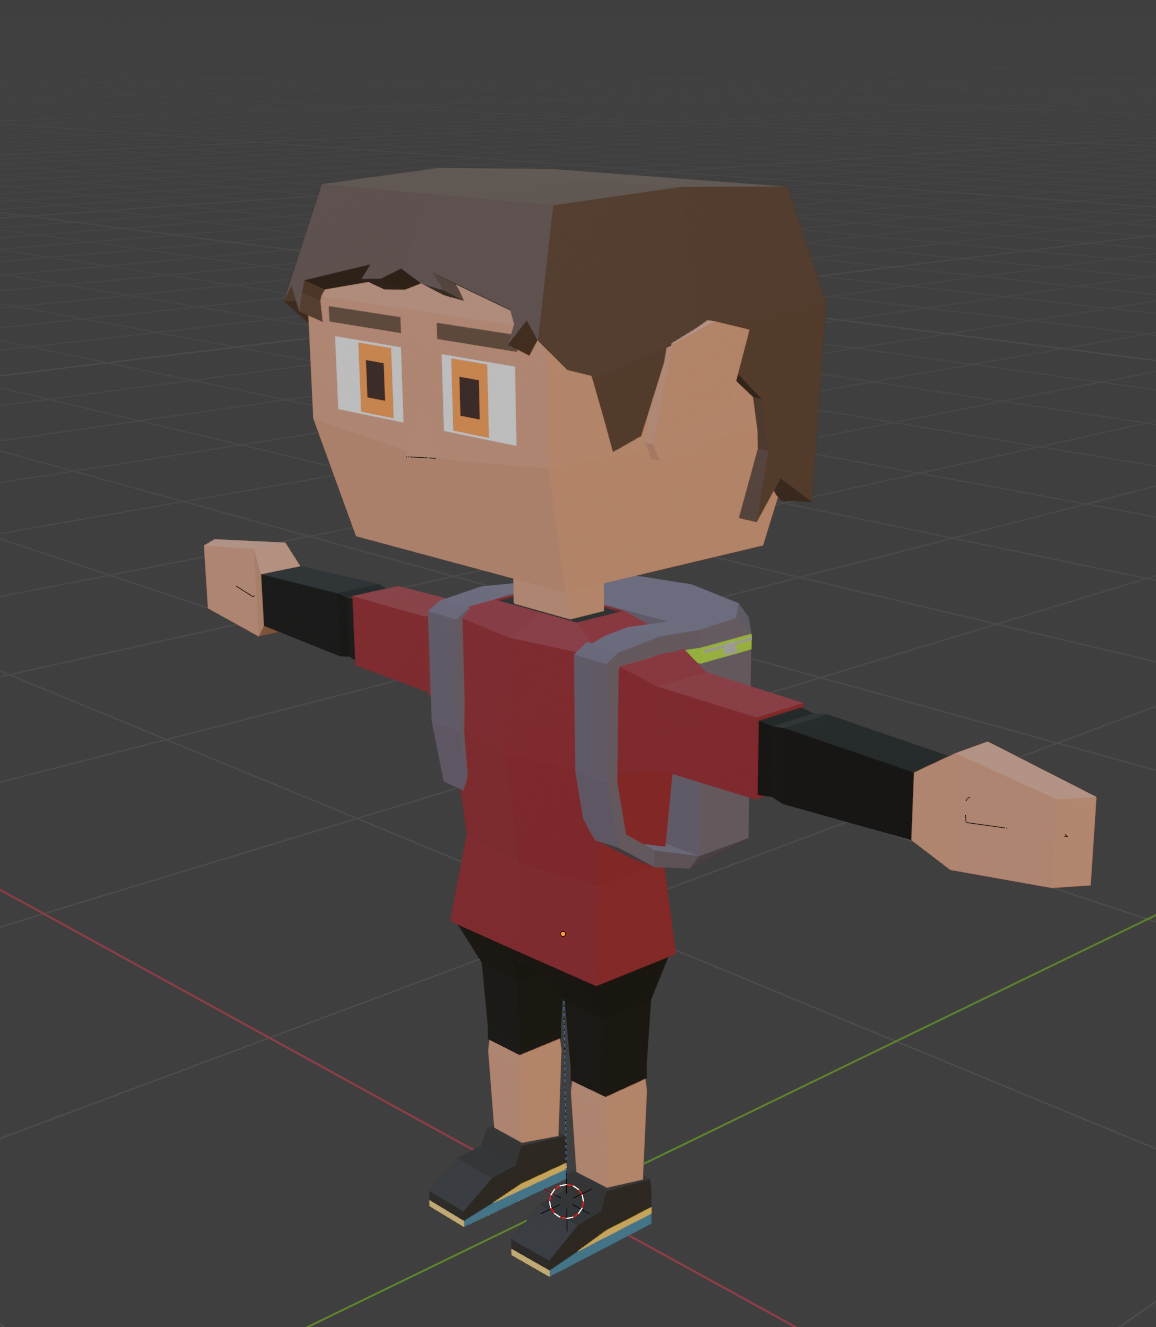
I added a backpack to my model as well to add to "hiker" aesthetic. I am overall really happy with how my model turned out; especially as this is my second character model attempt, where my first ever attempt was of a more realistic look that failed poorly and I ended up giving up on it because it consumed too much time to make. The only thing "wrong" with the model is that the arms are a little too long, but it wasn't a big deal and I hadn't noticed until I got to animating.
I did follow Imphenzia's guide more thoroughly than I would've liked, so if I was to create a new character model, I would like to take my own steps a bit more. I would've liked to model Bender from Futurama after having seen someone make Robot Devil/Beezlebot who's model is perfect for a low poly design (I do not have an image of that model to share nor do I have that person's permission).
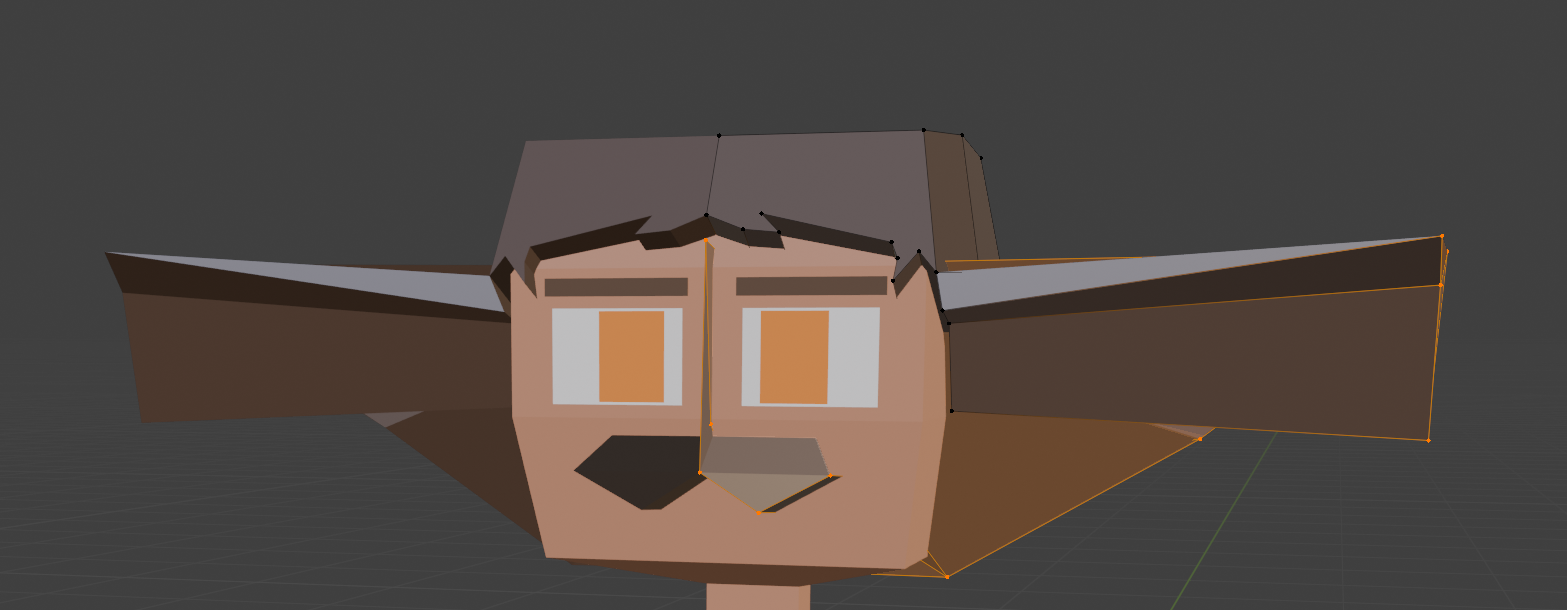
I also rarely ran into any problems, the worst being the hair due to needing weirdly placed vertices to create the shape that it is, though I am very proud of it. I also encountered a funny problem where the hair extruded too much, creating a moustache on the character (Fig.3).
Rigging
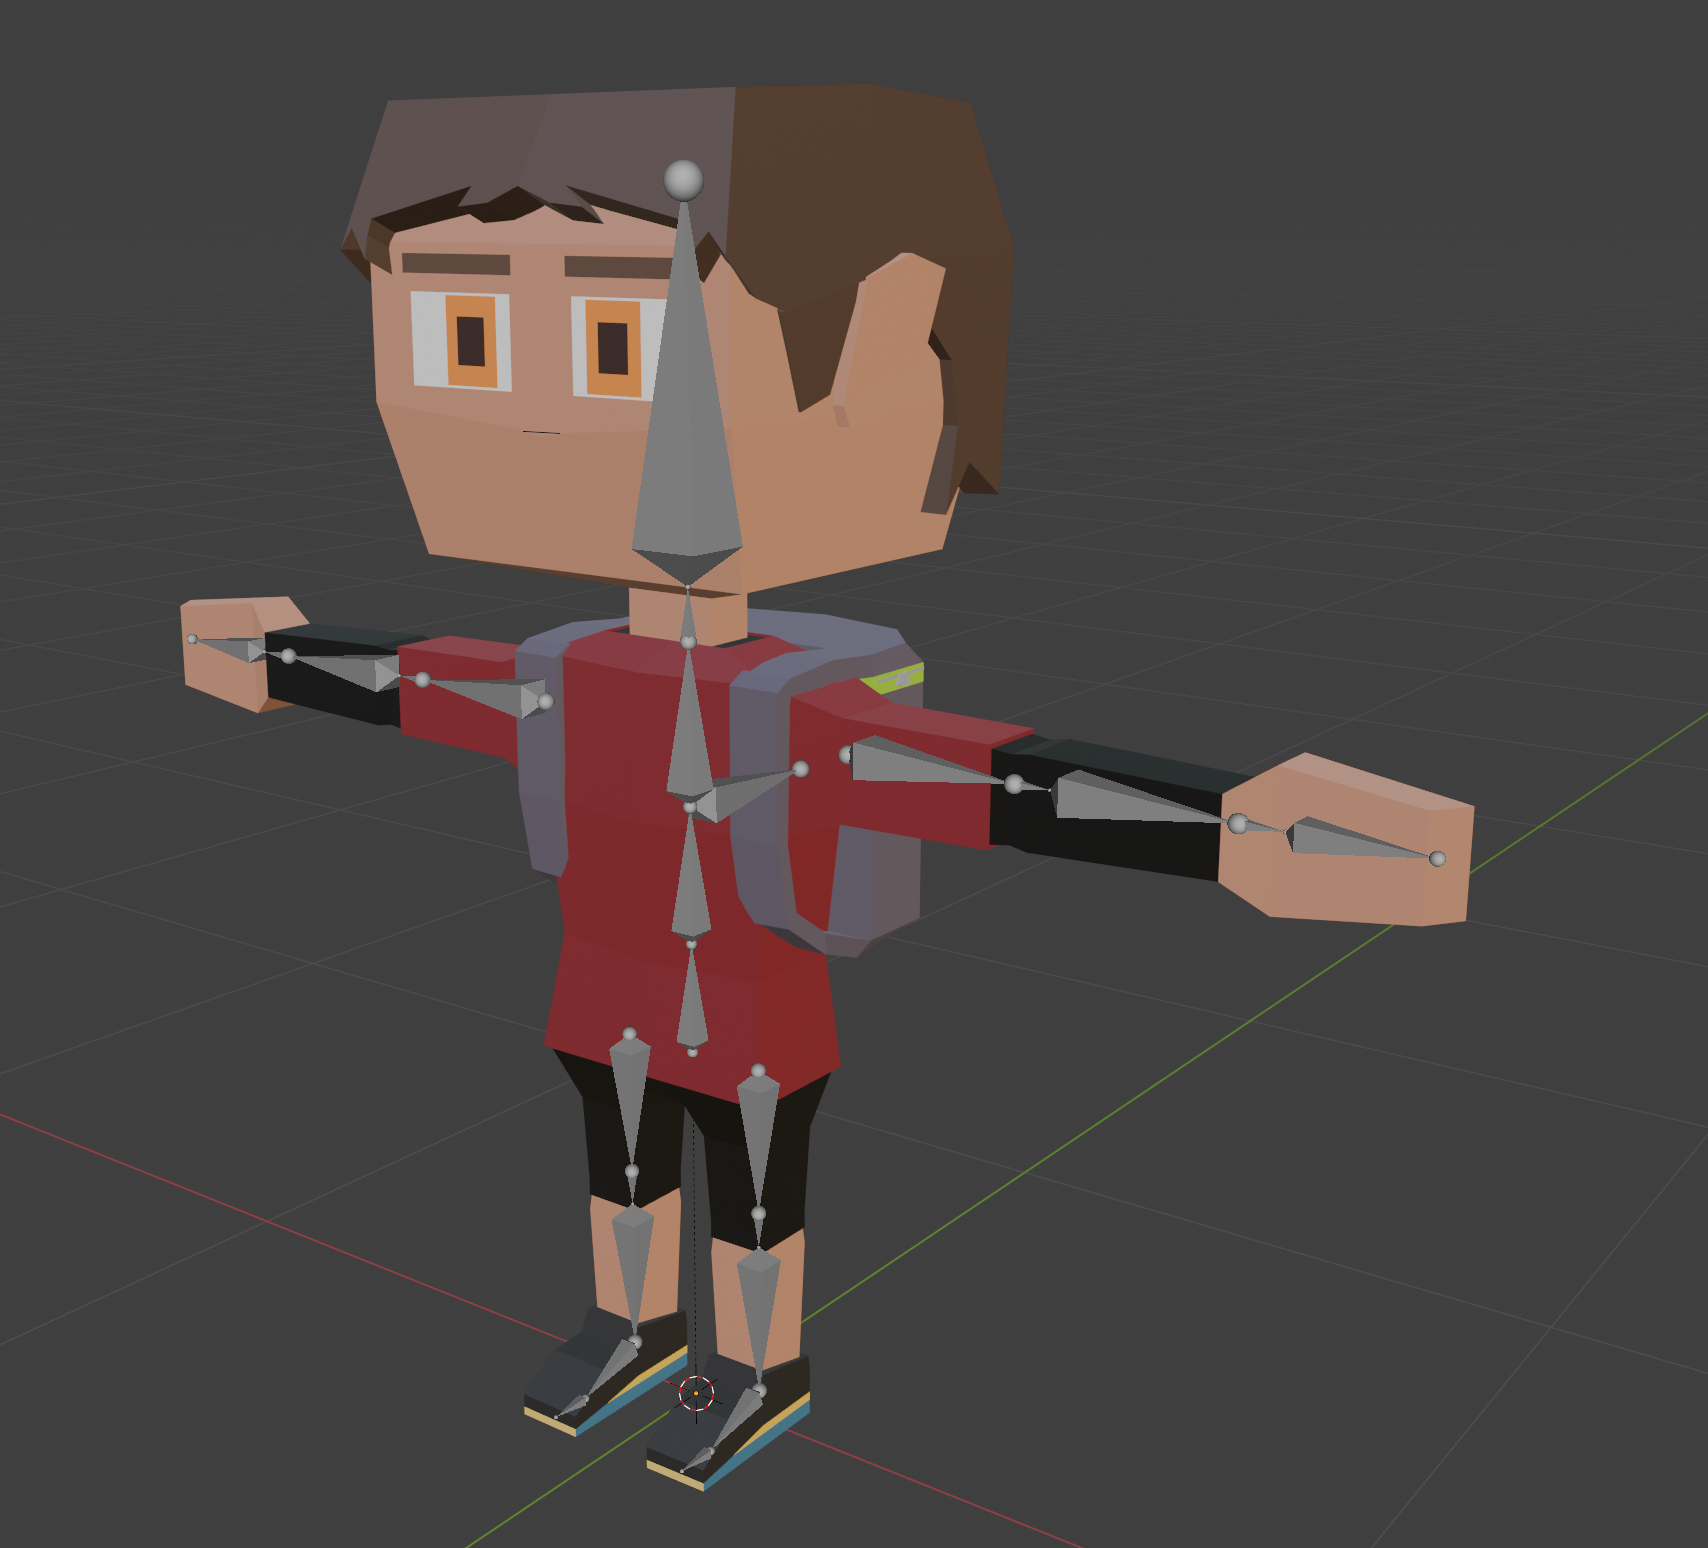
I then moved onto the rigging, where I had to create "bones" to allow my character to move without looking distorted. I followed another one of Imphenzia's guides when initially creating the armatures (this is the term used for bones in Blender). I also watched a video from Joey Carlino for some extra tips and a quick guide. It wasn't too difficult; however, I found making the knee joint to be troublesome as it wouldn't bend properly and cause the foot to rotate when it shouldn't, so I removed those support bones. The final skeleton of the armature is shown in Fig.4.
Animating
I then moved onto animating which was really fun to work on, especially since I had a lot of prior experience with this. I created 3 different animations: wave, walking, and idle.
The idle animation was the easiest to make (and most boring) as it was just a show of breathing.
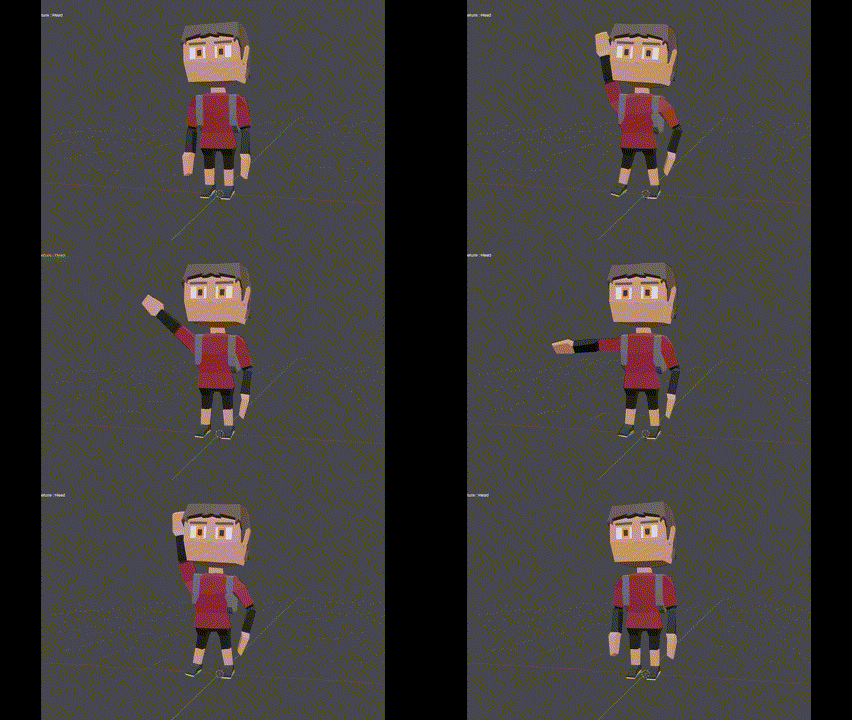
The wave animation (Fig.5) was a lot of fun as I had to time the arms swing from a resting position to up high to look natural so it wasn't too fast, but also not too slow that it wasn't taking forever. I wish I could've added some facial expressions to make my character look that extra more lively (like raised eyebrows or blinking), but that would've required some more work with the armature which I was not going to deal with, especially since I had time constraints, so I just put all the effort into his actions.
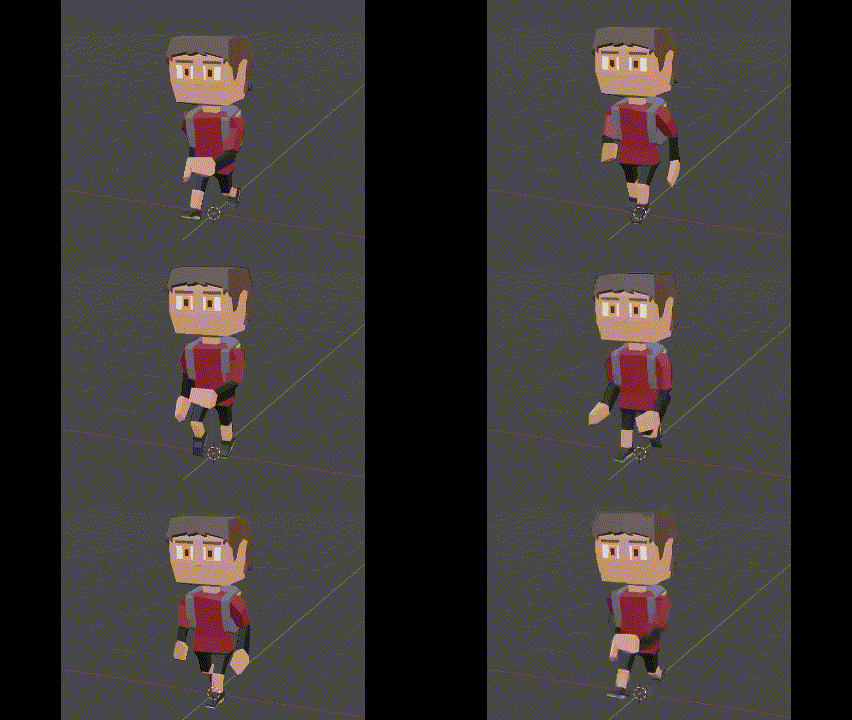
The walking animation (Fig.6) was the hardest but also fun to make. I had to use a reference to time my character's leg position. I used one I found by Caleb Ward (I've also attached the image to the devlog) and it really helped the leg positioning. I then added the arm movement myself and it turned better than expected as I had added some unexpected rotations to the arms that added a bit more life into the swing.
Importing into Unity
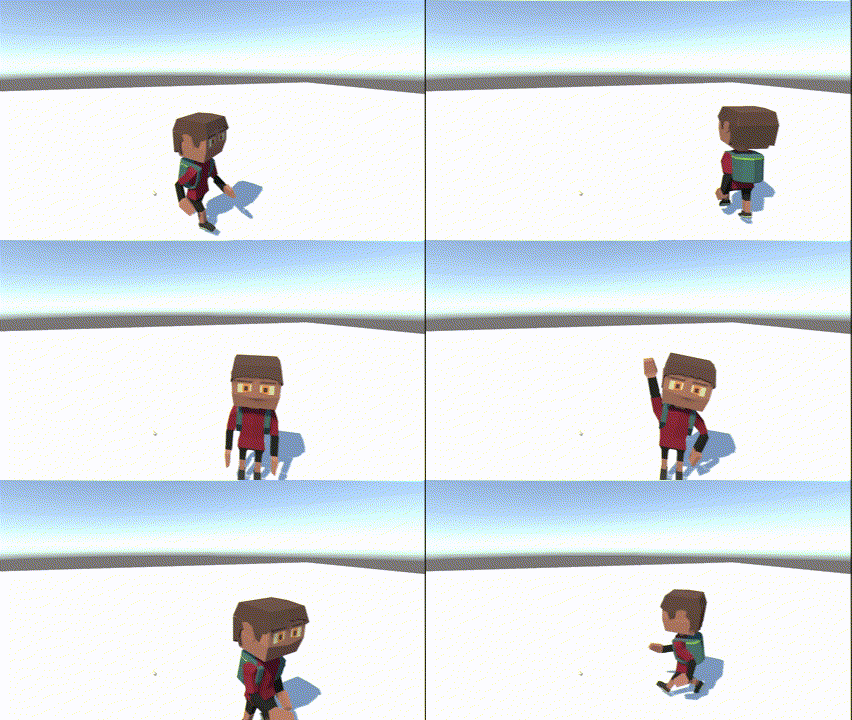
With the character complete, I exported the Blender file out and imported into Unity. There were a couple of problems when importing the character into Unity (as shown by Fig.7).
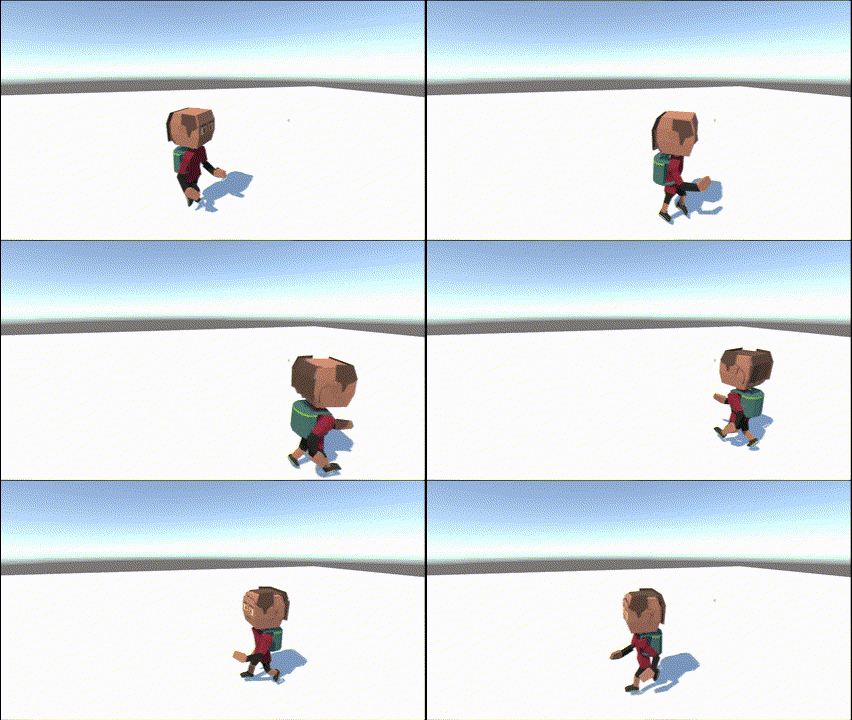
The first problem was that the animations did not import together, so I had export multiple versions of my character holding different animations so that I could get them all across.
The second problem was that some of the character's faces were missing. This was due to "inverted normals", meaning the faces were actually facing the other way. I just had to go back into Blender and make the faces face the right way.
The third and trickiest problem to fix was that the hair and backpack were not animating with the body even though they worked just fine in Blender. After a bit of research, I found out that my version of tying my hair and bag to the body (which was making them a child of the body) did not carry out into the export. So I had delete the modifier constraint and manually parent the body to hair and backpack, then paint on weight from the armature so that when I exported it back into Unity, they would animate correctly.
I have also attached an .fbx file of my character model to this devlog if anyone wishes to preview it for themselves.
Files
Get UTAS KIT207 Portfolio
UTAS KIT207 Portfolio
A collection of items that were created in the 2024 KIT207 Sem 1 course
| Status | In development |
| Author | LuddyFish |
| Tags | portfolio |
More posts
- Week 6 - Visual PresentationApr 13, 2024
- Week 5 - Game IdeasMar 28, 2024
- Week 5 - Simple GameMar 28, 2024
- Week 4 - Terrain and NavigationMar 23, 2024
- Week 1 & 2 - Tasmanian Tourist AttractionMar 06, 2024
Leave a comment
Log in with itch.io to leave a comment.