Week 6 - Visual Presentation
This week's focus was on lighting, shadergraph, cinemachine, and post processing. All these things add to making a scene more attractive to the eye.
Starting with lighting, we were provided with a monkey head and an inside out cube in a Unity project. Our goal was to create a scene with enhanced lighting that wasn't using the standard light effects that Unity provides. I started off by getting a rough guide from Brackeys' Youtube tutorial to which I then used his example replicate a similar scene.
I created two planes, each emitting a different colour. I used a PinkGreen colour combination from the Splatoon series (It is the main promotional colours of Splatoon 2), as I find Splatoon's colour palettes to be quite pleasing to the eye. I had a little trouble trying to get the planes to emit, as Brackeys' tutorial is on an older version of Unity, but I was able to navigate my way around Unity's interface and find in the lighting window a "Generate Light" button. Fig.1 and Fig.2 show a comparison of when lighting is afterwards applied.
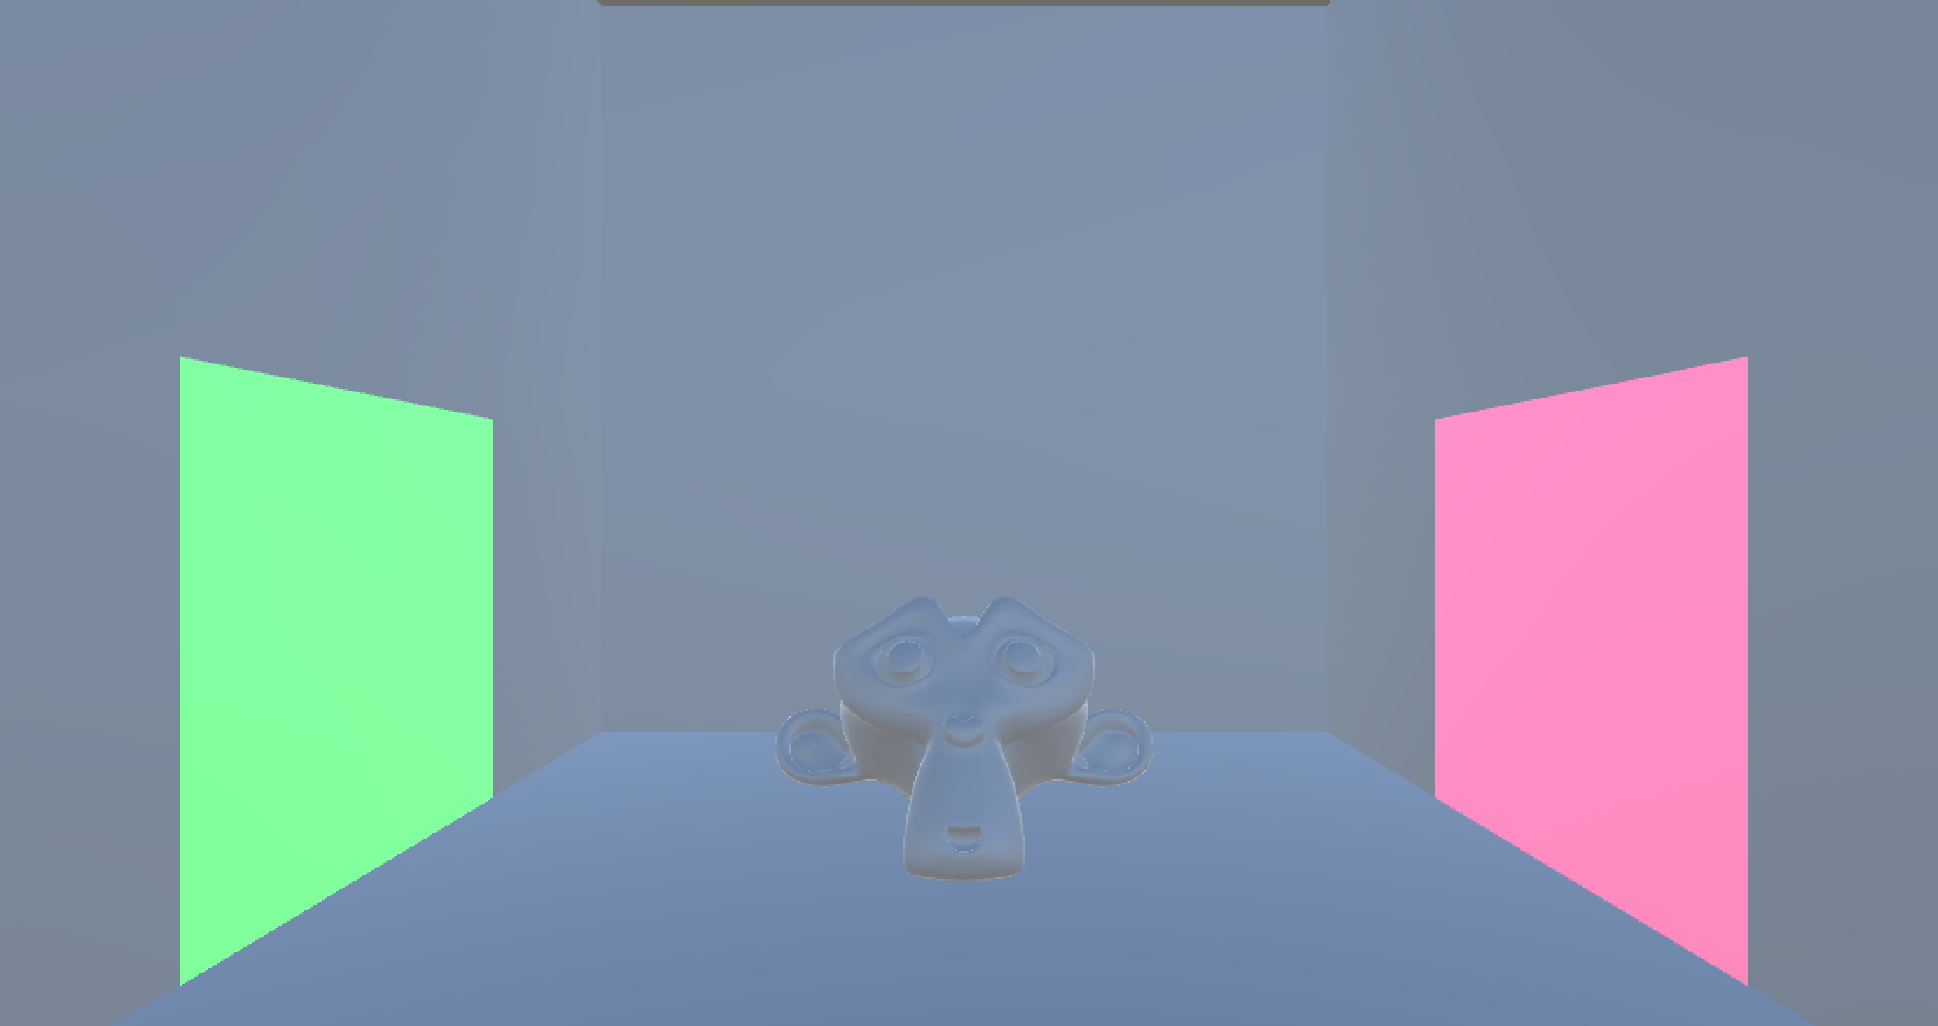
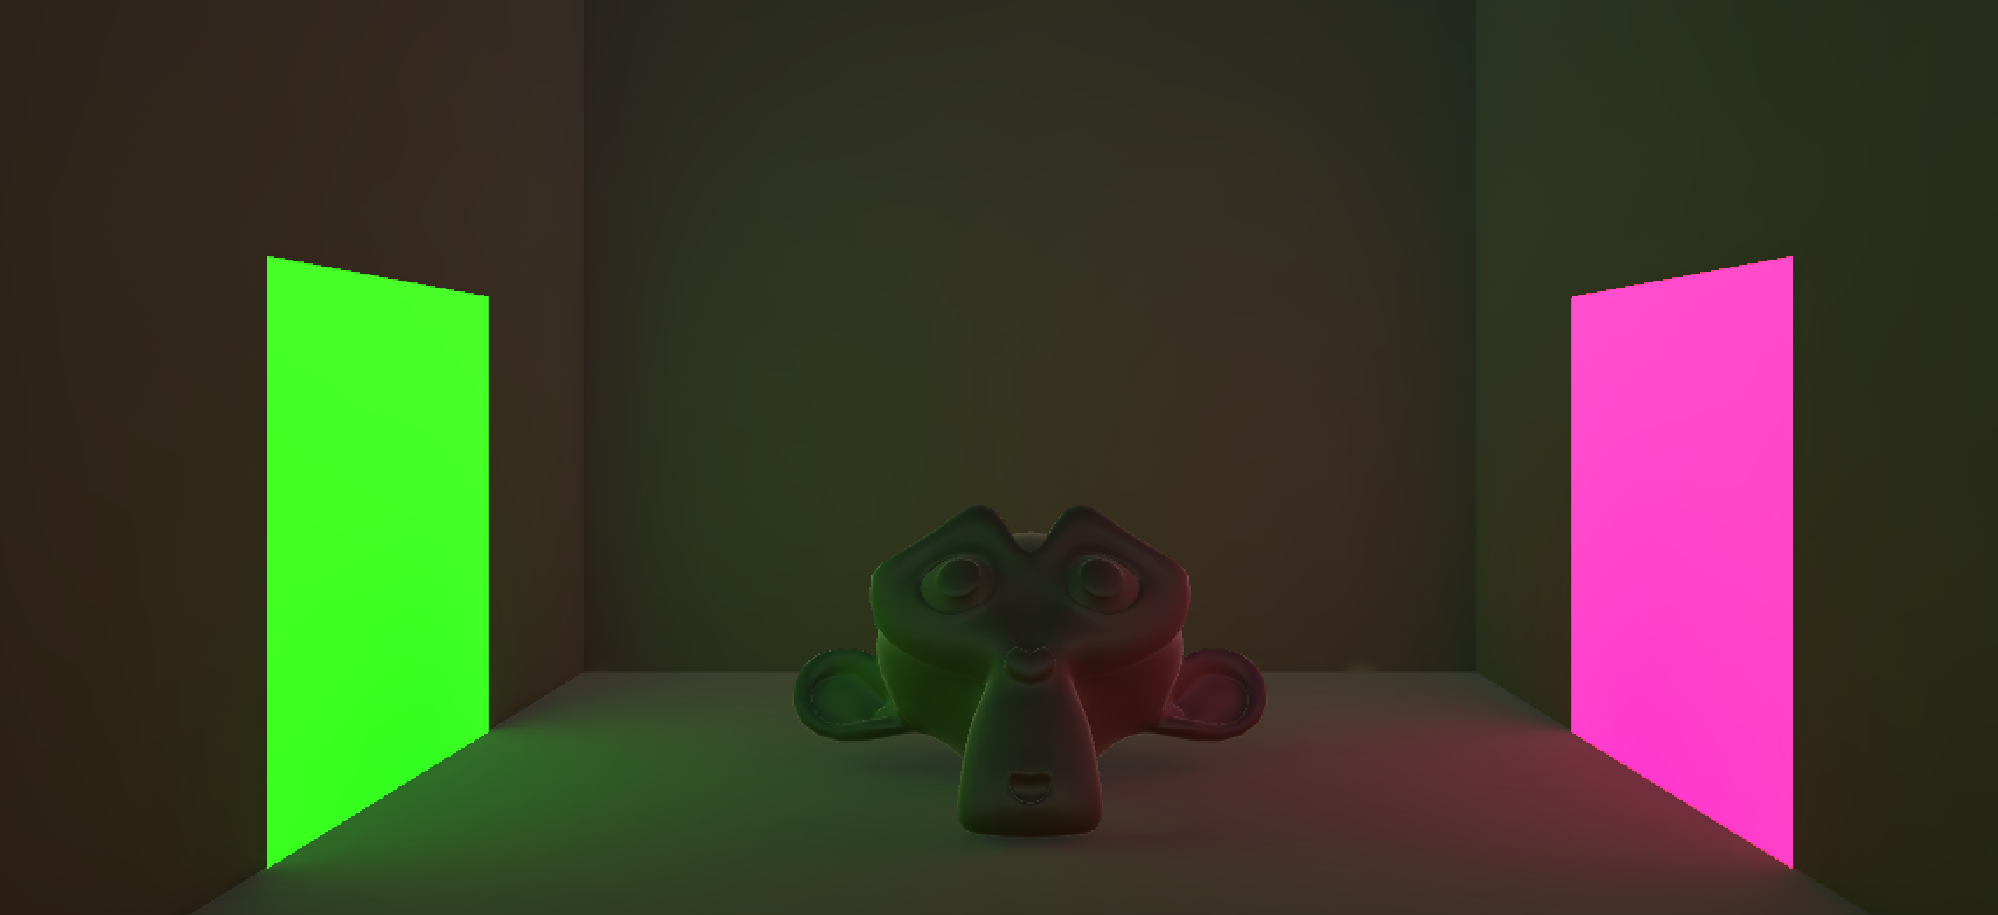
I then moved on to baking and playing around some light settings. These were just settings that makes the lighting look a little more realistic and for me to adjust based on my presences. Fortunately, a lot of settings that were explained in Brackeys' tutorial had already been activated, so not a lot had changed.
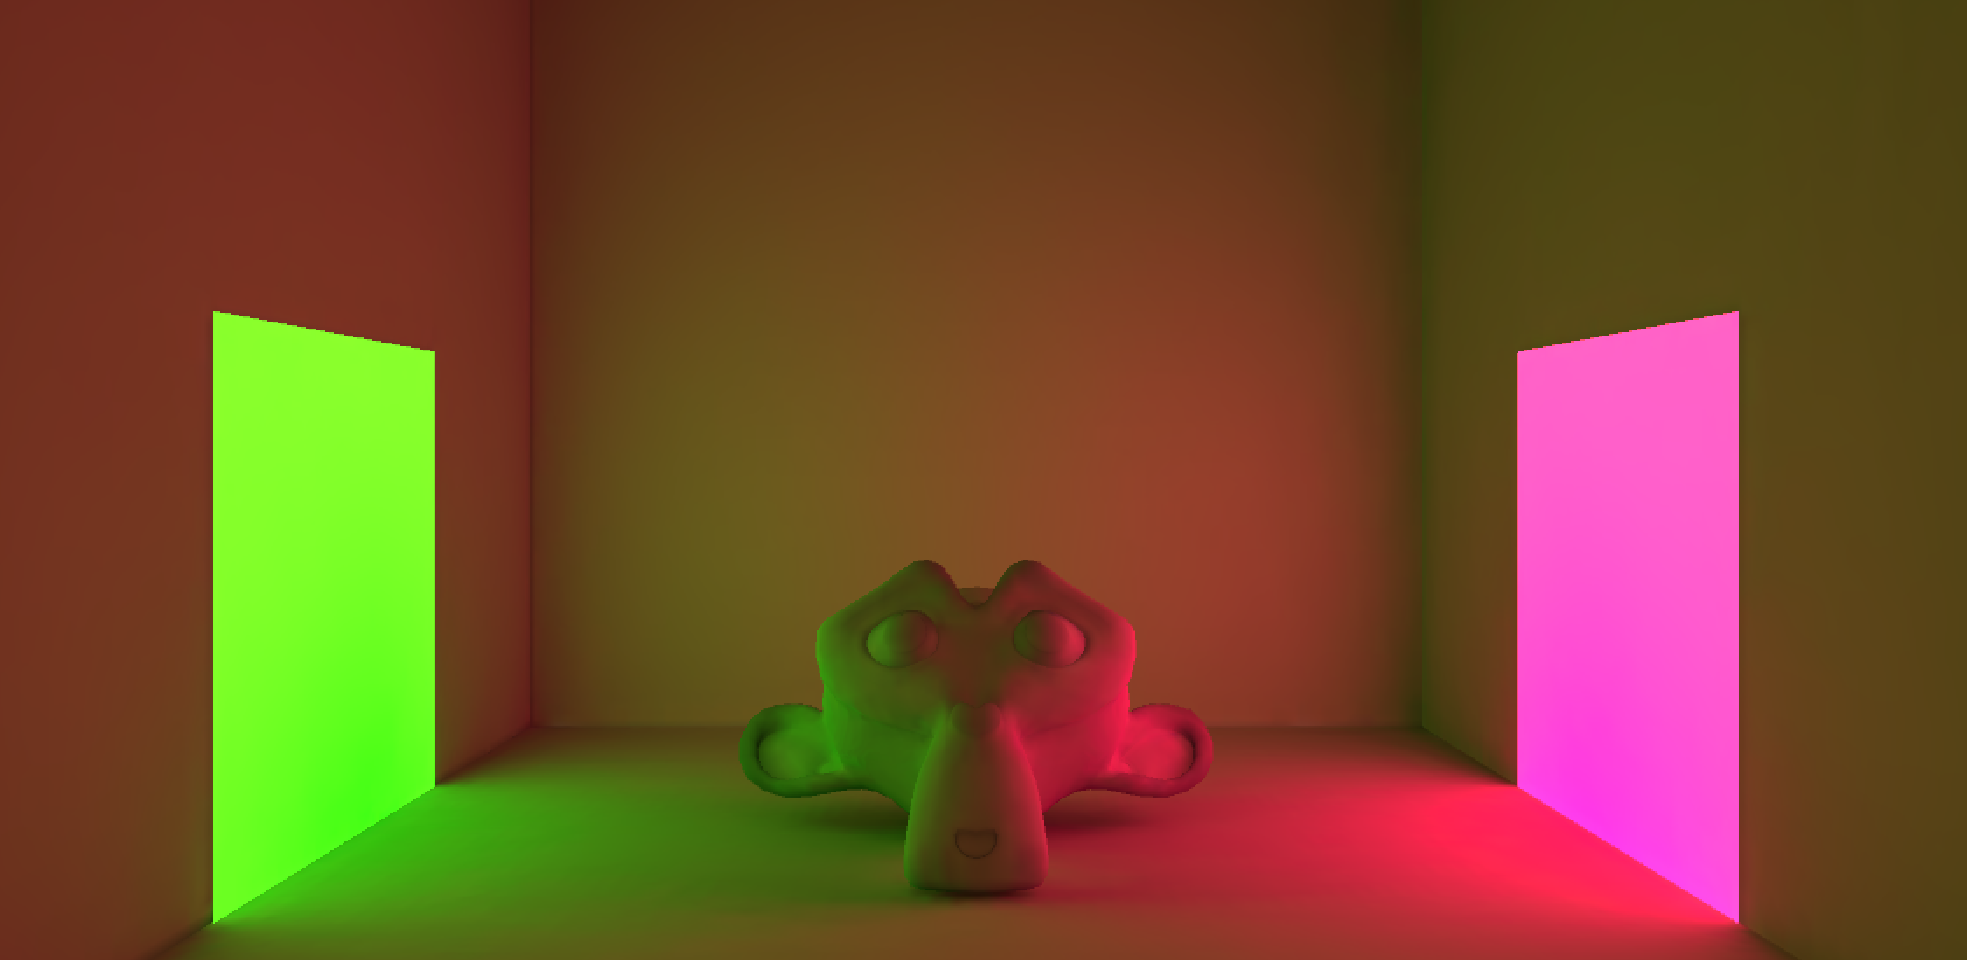
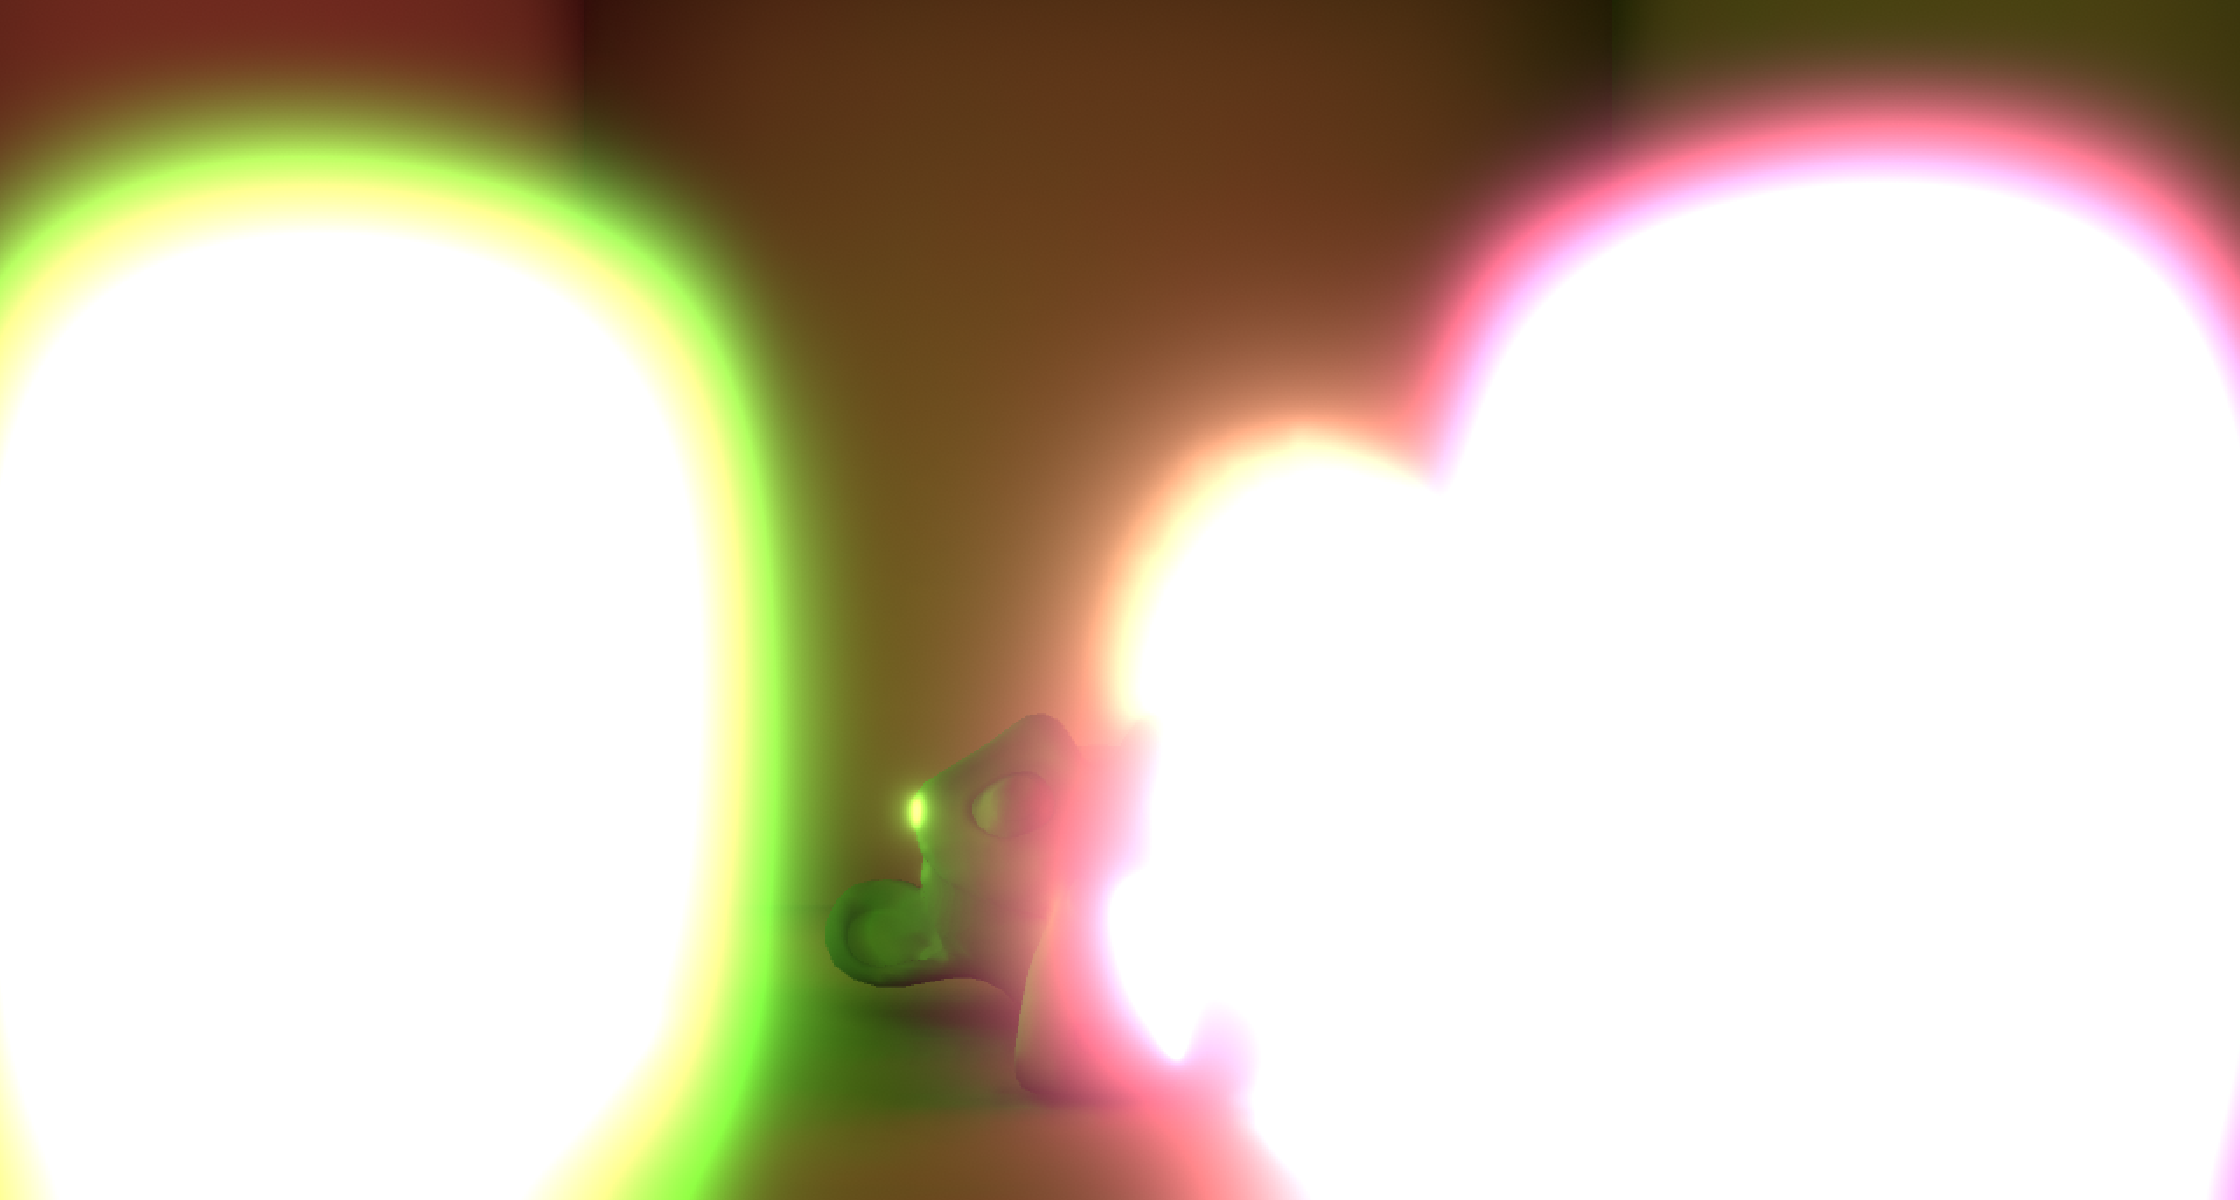
The last step I did was add some glow effect to the light emitting planes. I started off by adding bloom (the thing that gives objects a glow effect) using the post processing package. I had to have some help from Rigor Mortis Tortoise in properly adding the glow effect as Brackeys' tutorial was outdated when trying to implement the glow effect. I had a funny moment where I added too much bloom and the result ended up as Fig.4. Eventually, I got the glow to be just right as shown by Fig.5.
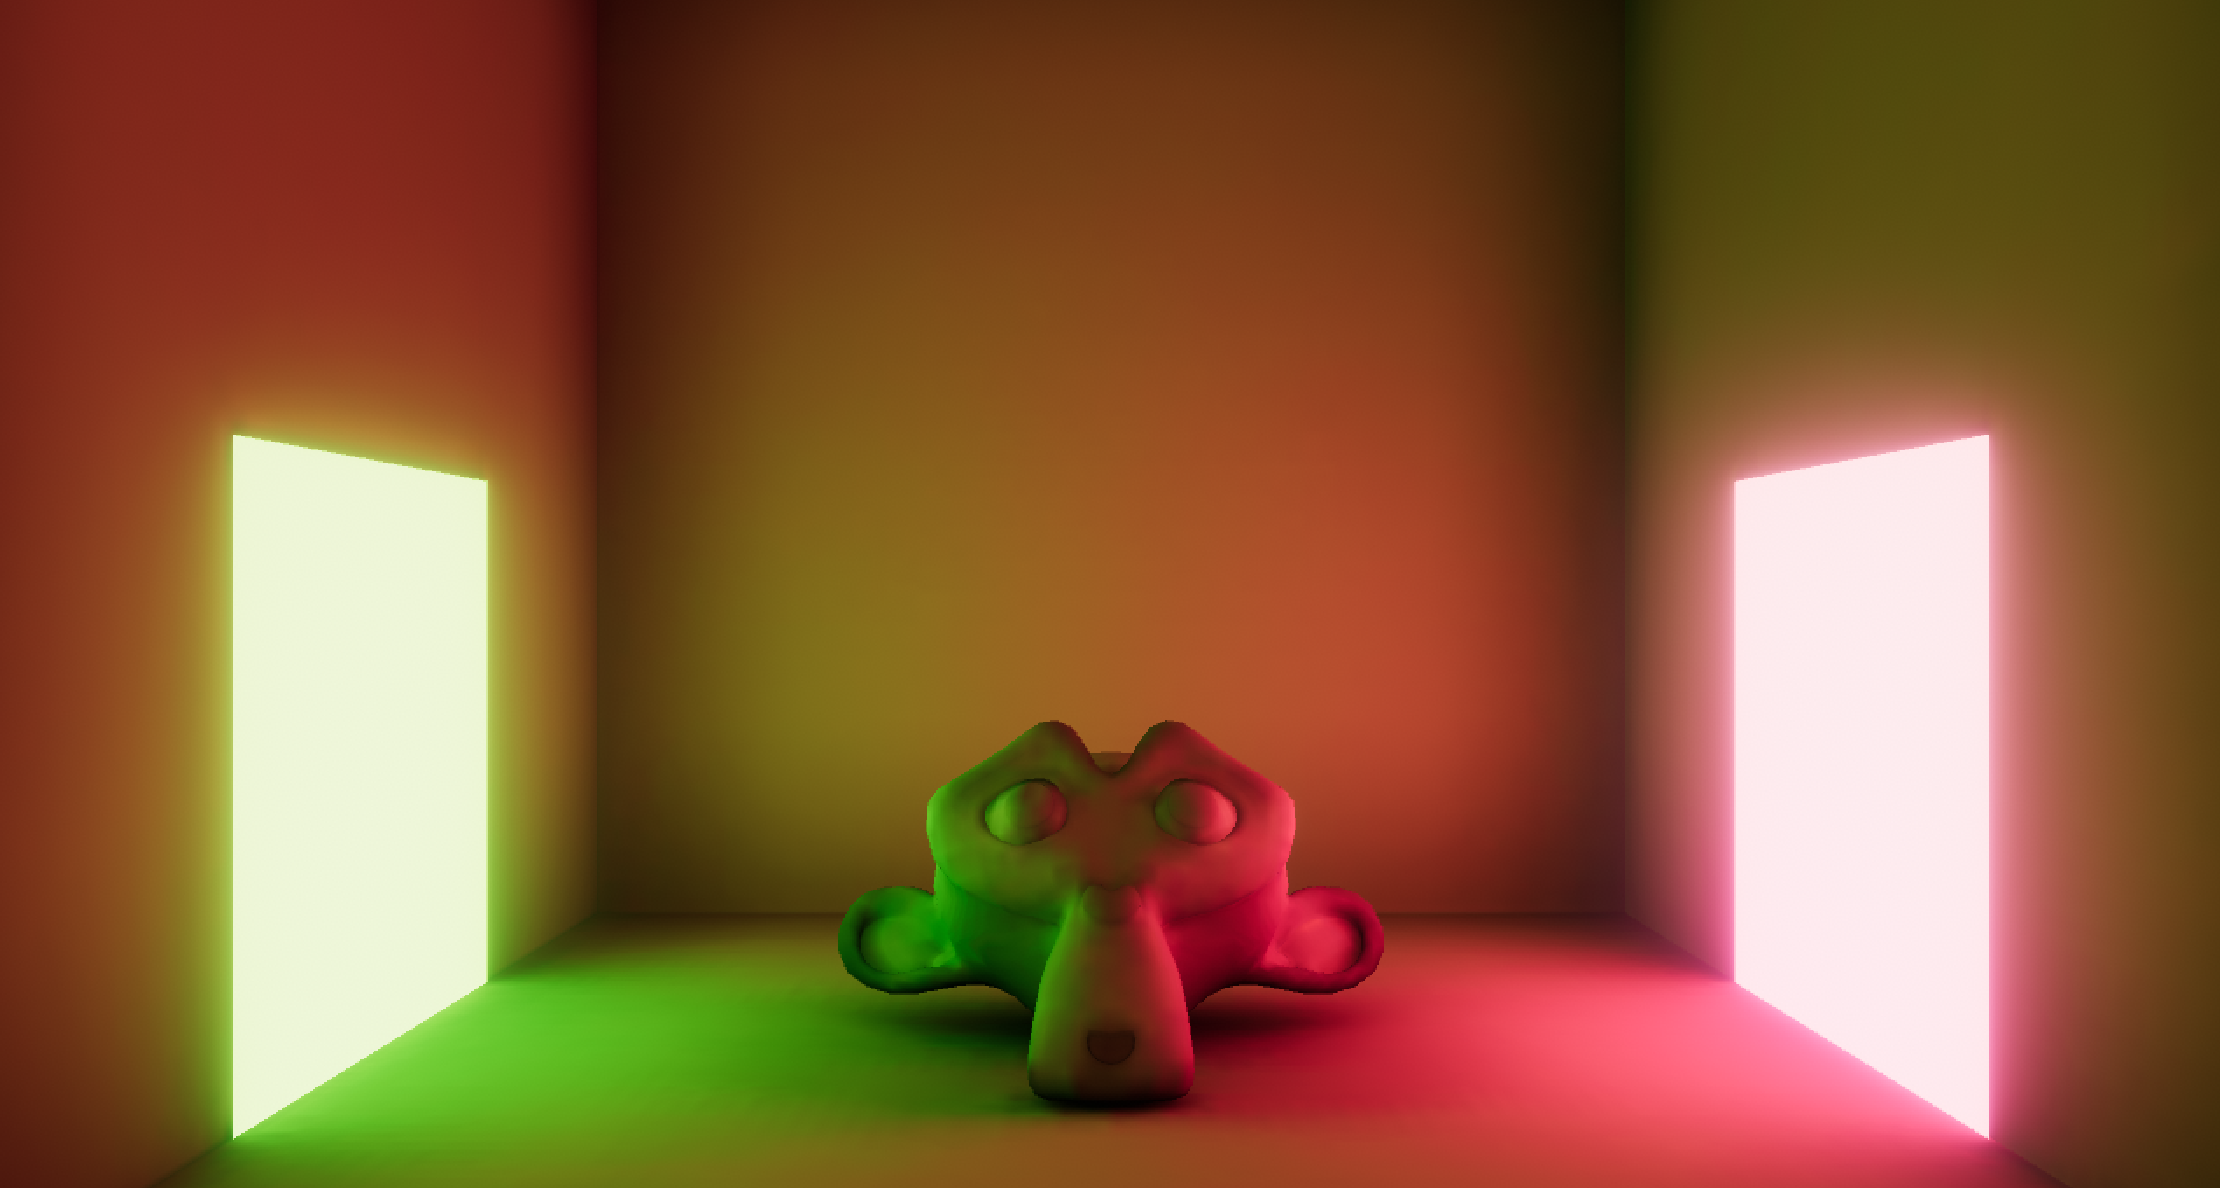
I then moved onto the Shadergraph part of the tutorial. Shadergraph is an expansive but useful tool in helping create dynamic materials on objects. As I have no experience with shaders, I followed alongside Brackeys' Youtube tutorial to get a basic understanding of how shader's work. I used the techniques shown in the video and applied them to the monkey head in my lighting room.
I started off by creating a material that would cause the monkey head to emit a glow, kind of similar to how the two planes either side glow as well.
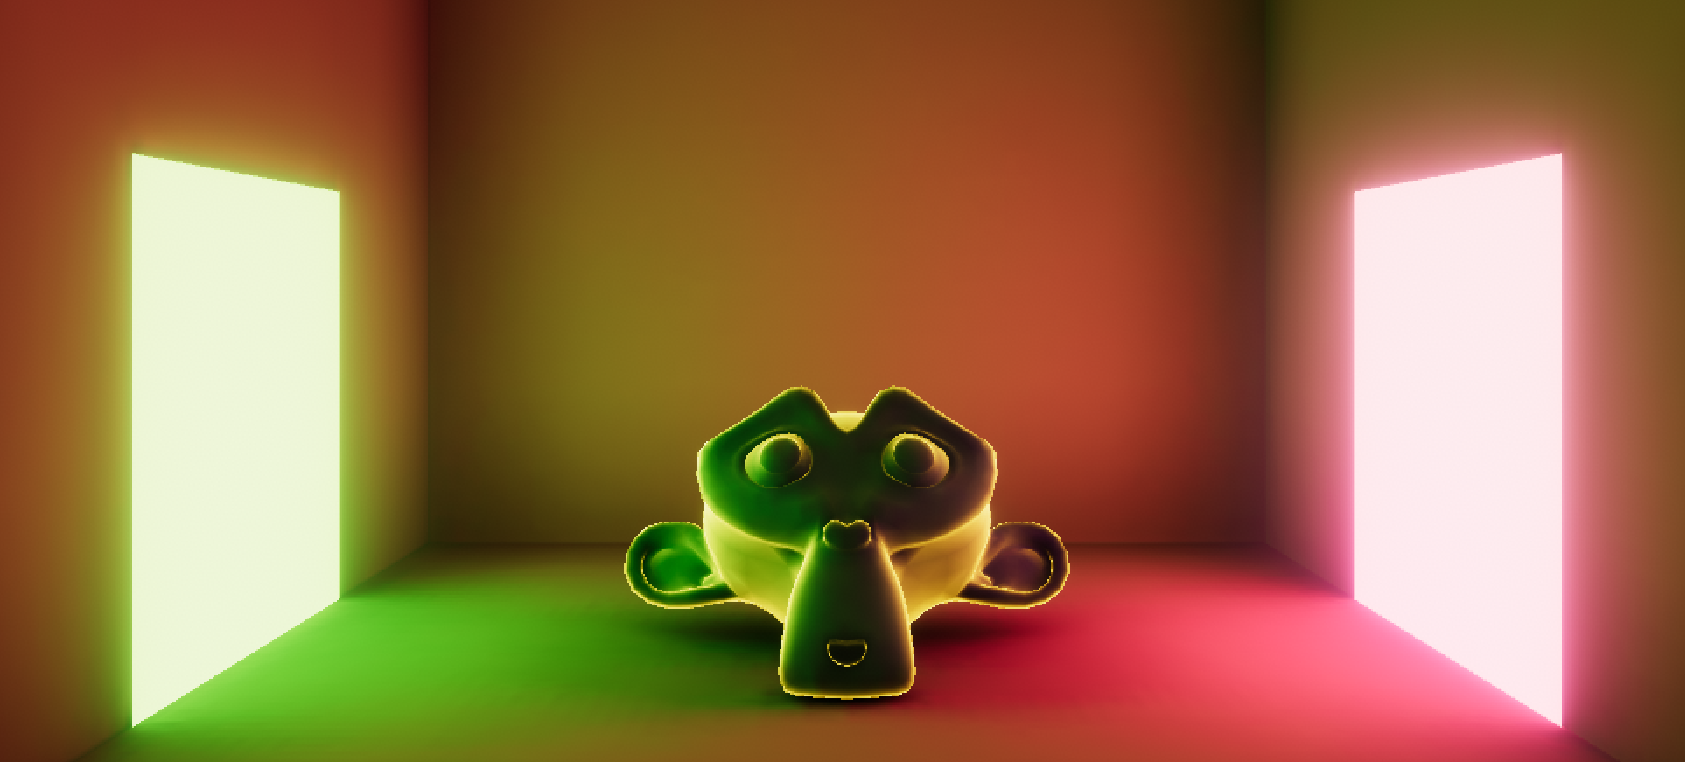
I then added an animation effect where the glow fades in and out.
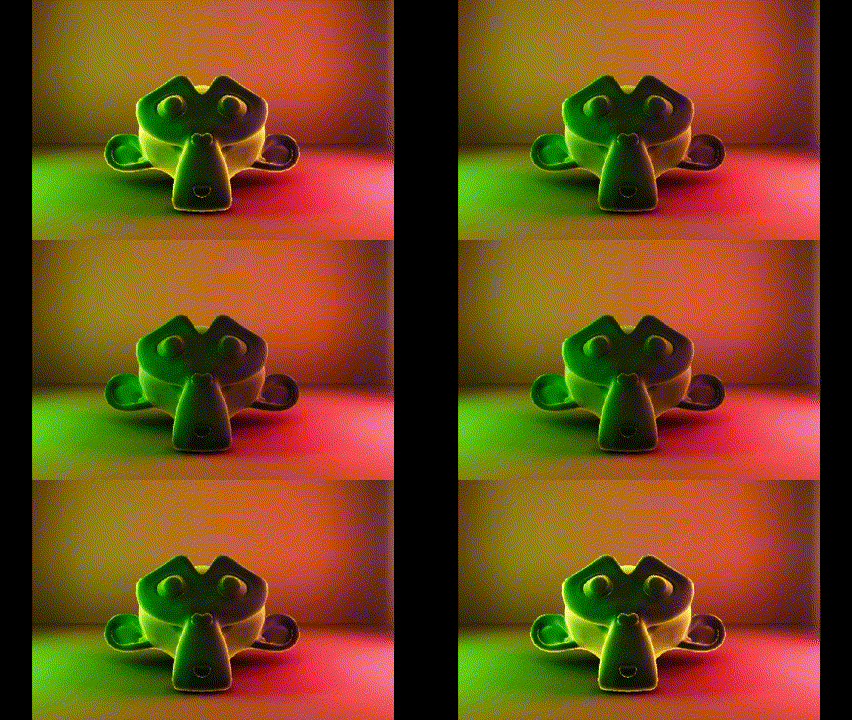
I finished off by adding a 2D texture to the monkey's occlusion to add more detail and shape to the head. Fig.8 and Fig.9 show the comparisons between the two. There might seem to be no significant differences, but when laid on top of each other, and flicking between the two, you'll start to notice and see how much of a subtle difference the 2D texture makes.
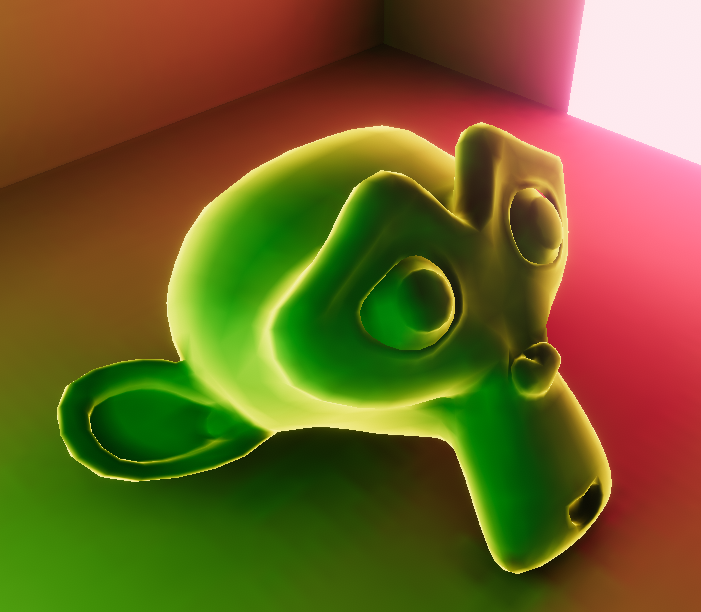
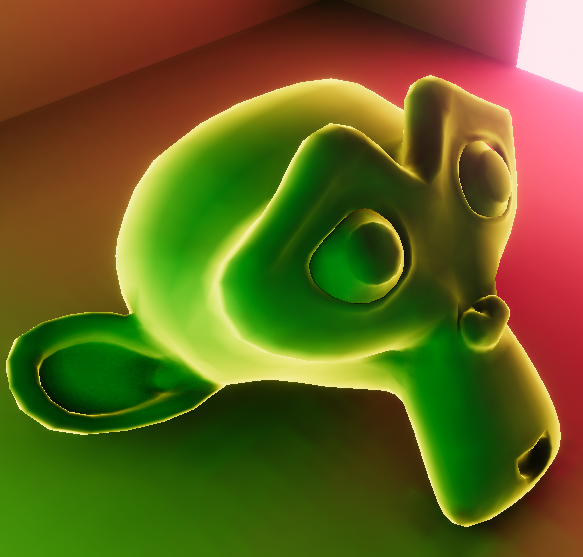
I have attached the monkey head project if anyone wishes to take a look.
I then moved onto working with cinemachine in my terrain from weeks 4 and 5. Cinemachine is a camera tool that helps with transitioning the camera between locations based on set criteria, with those transition being as smooth or cut as you want. Cinemachine usually does this by placing additional "virtual" cameras around the world to which the main camera (the one you see through) can jump between.
I started by adding a simple camera to the player that follows them around in third person and made it so that when the player turns, the camera gradually turns to the player's facing direction, to ease the jerkiness that would otherwise occur if it wasn't there.
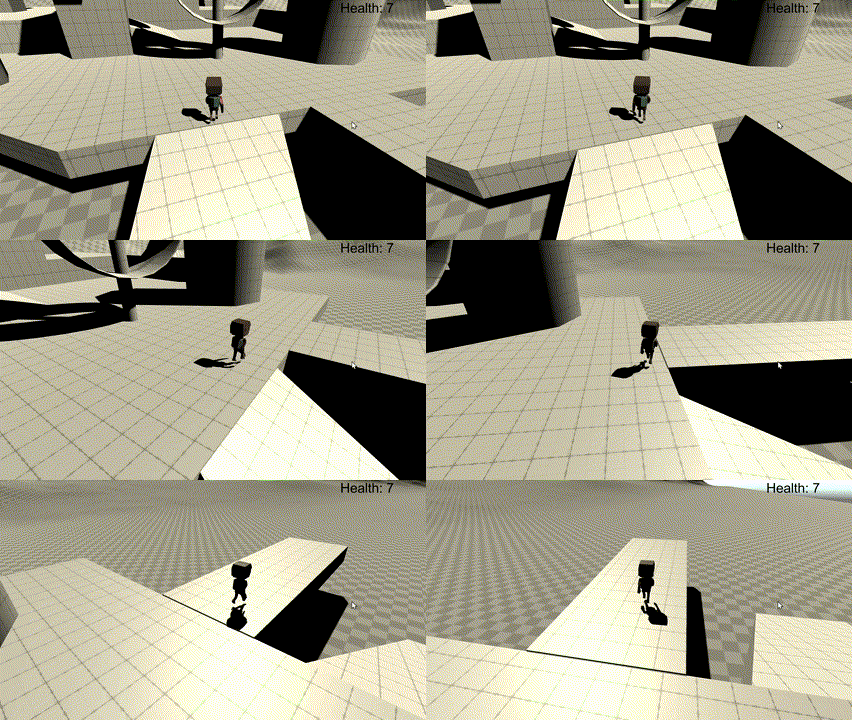
I also added a second camera that would activate and take precedence when the player enters a specific zone.
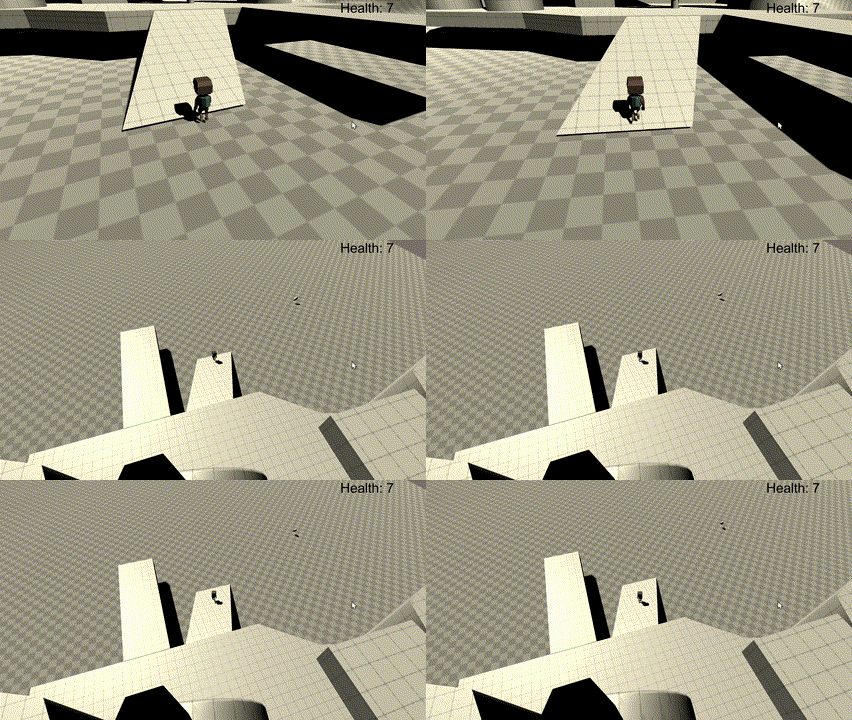
Additionally, I attempted to add a dolly camera, which is camera that changes to different positions based on where the player is. However, I did not enjoy using it as I found the tool to be a little jank, with it cutting to its next location instead of rolling to it like as if it was in a cart.
I then started working on some post processing effects, which is a tool to adjust what the camera sees without directly affecting the scene. For example, Fig.12 and Fig.13 show a vignette effect being added to the camera, which darkens the corners of the camera, which doesn't affect the scene in any way.
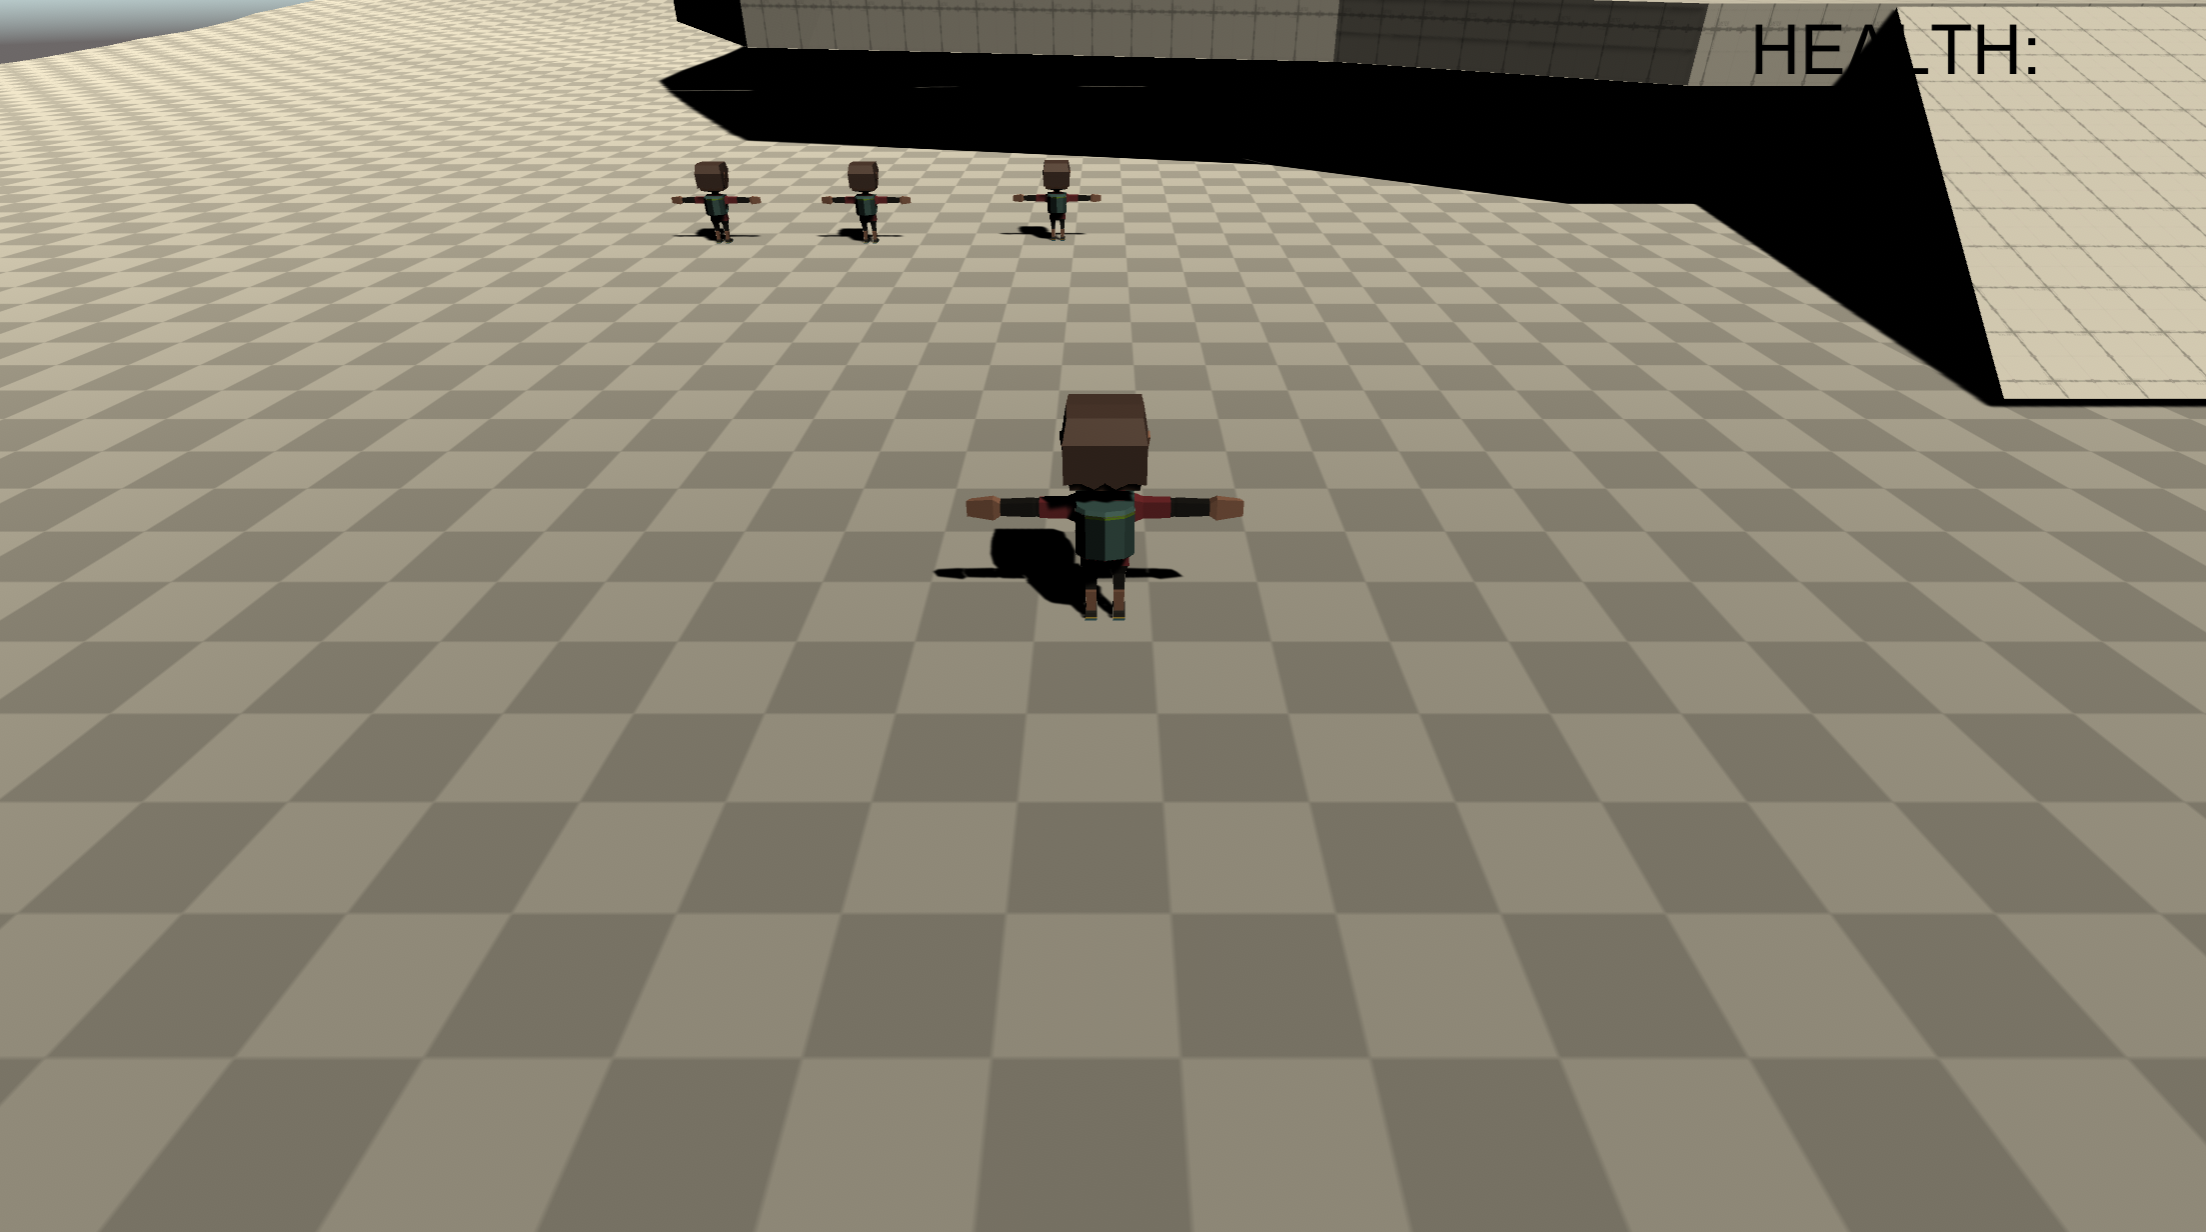
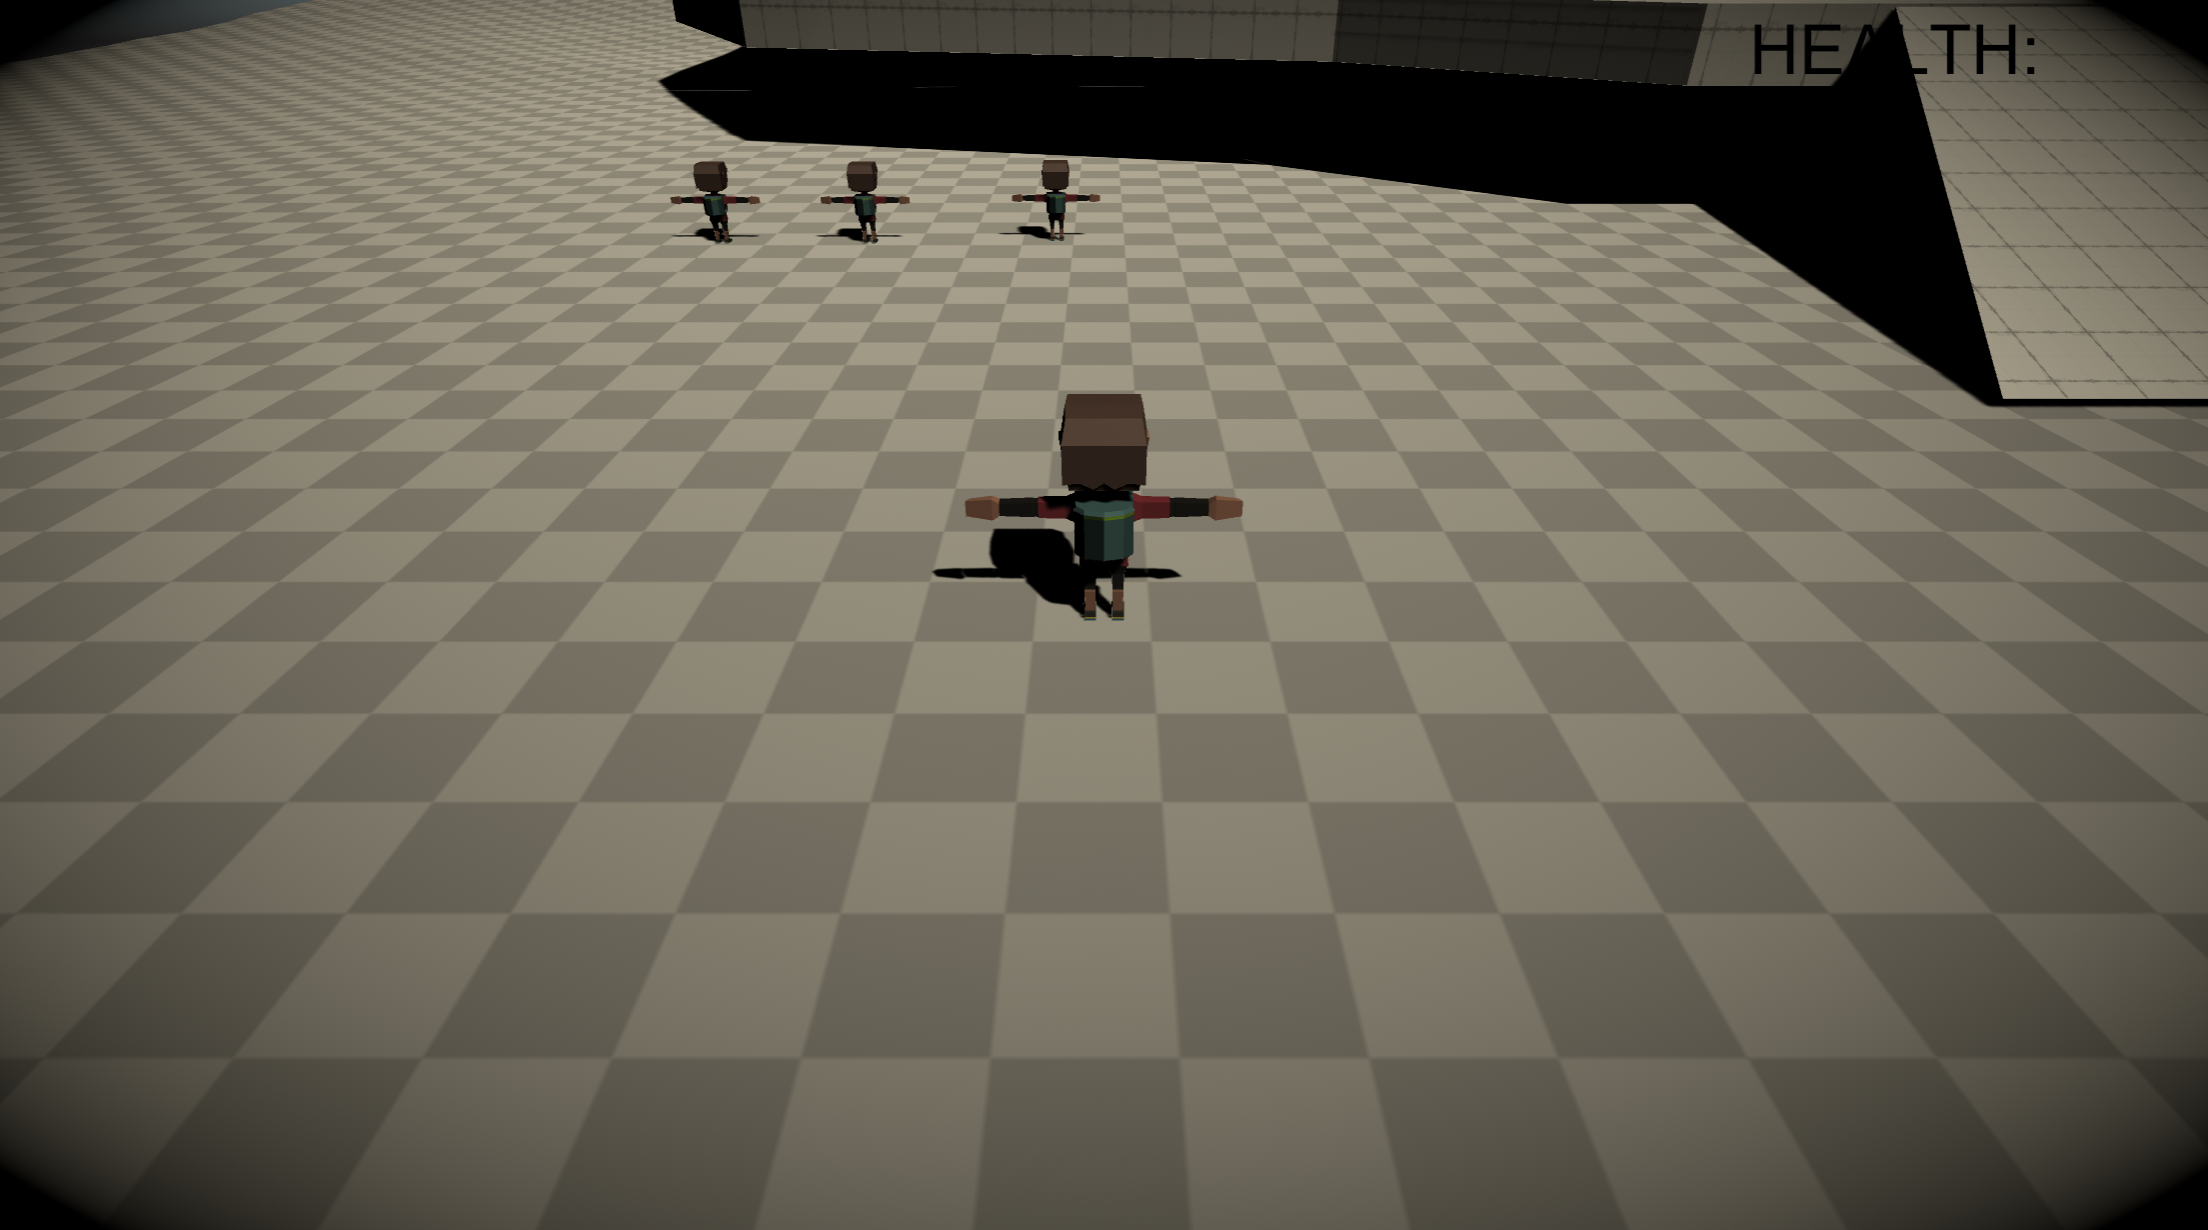
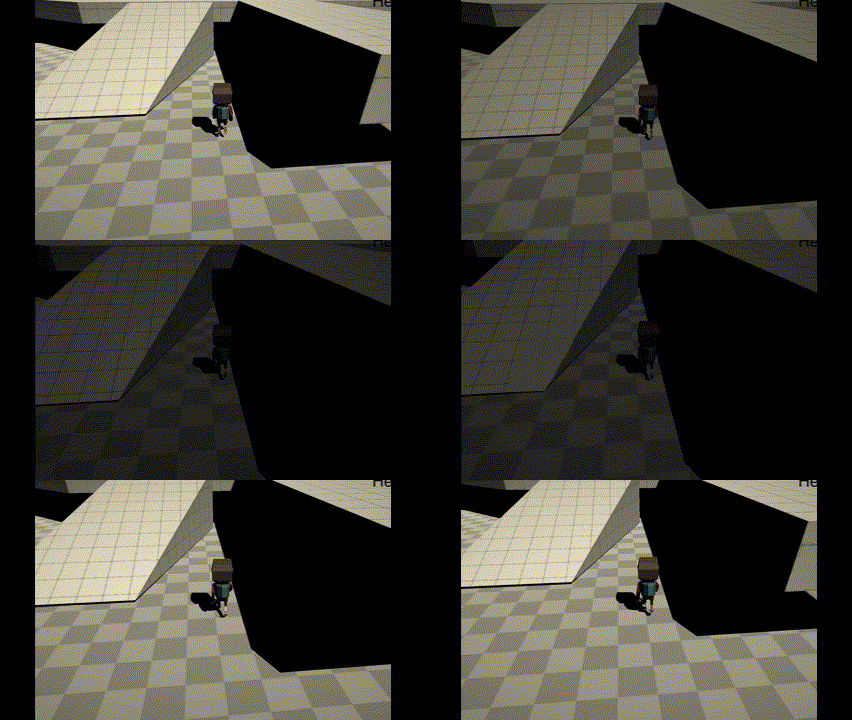
I also added a "dark zone" where if the player is to walk into it, the camera will dim and go somewhat dark. The camera will only remain dark if the player remains in that "dark zone". I also managed to add a "blend distance" effect that makes the transition between the normal camera view to the darkness less jarring.
Files
Get UTAS KIT207 Portfolio
UTAS KIT207 Portfolio
A collection of items that were created in the 2024 KIT207 Sem 1 course
| Status | In development |
| Author | LuddyFish |
| Tags | portfolio |
More posts
- Week 5 - Game IdeasMar 28, 2024
- Week 5 - Simple GameMar 28, 2024
- Week 4 - Terrain and NavigationMar 23, 2024
- Week 3 - Character ModellingMar 16, 2024
- Week 1 & 2 - Tasmanian Tourist AttractionMar 06, 2024
Leave a comment
Log in with itch.io to leave a comment.